Last updated on August 28th, 2022 at 03:34 pm
Last updated on August 28th, 2022
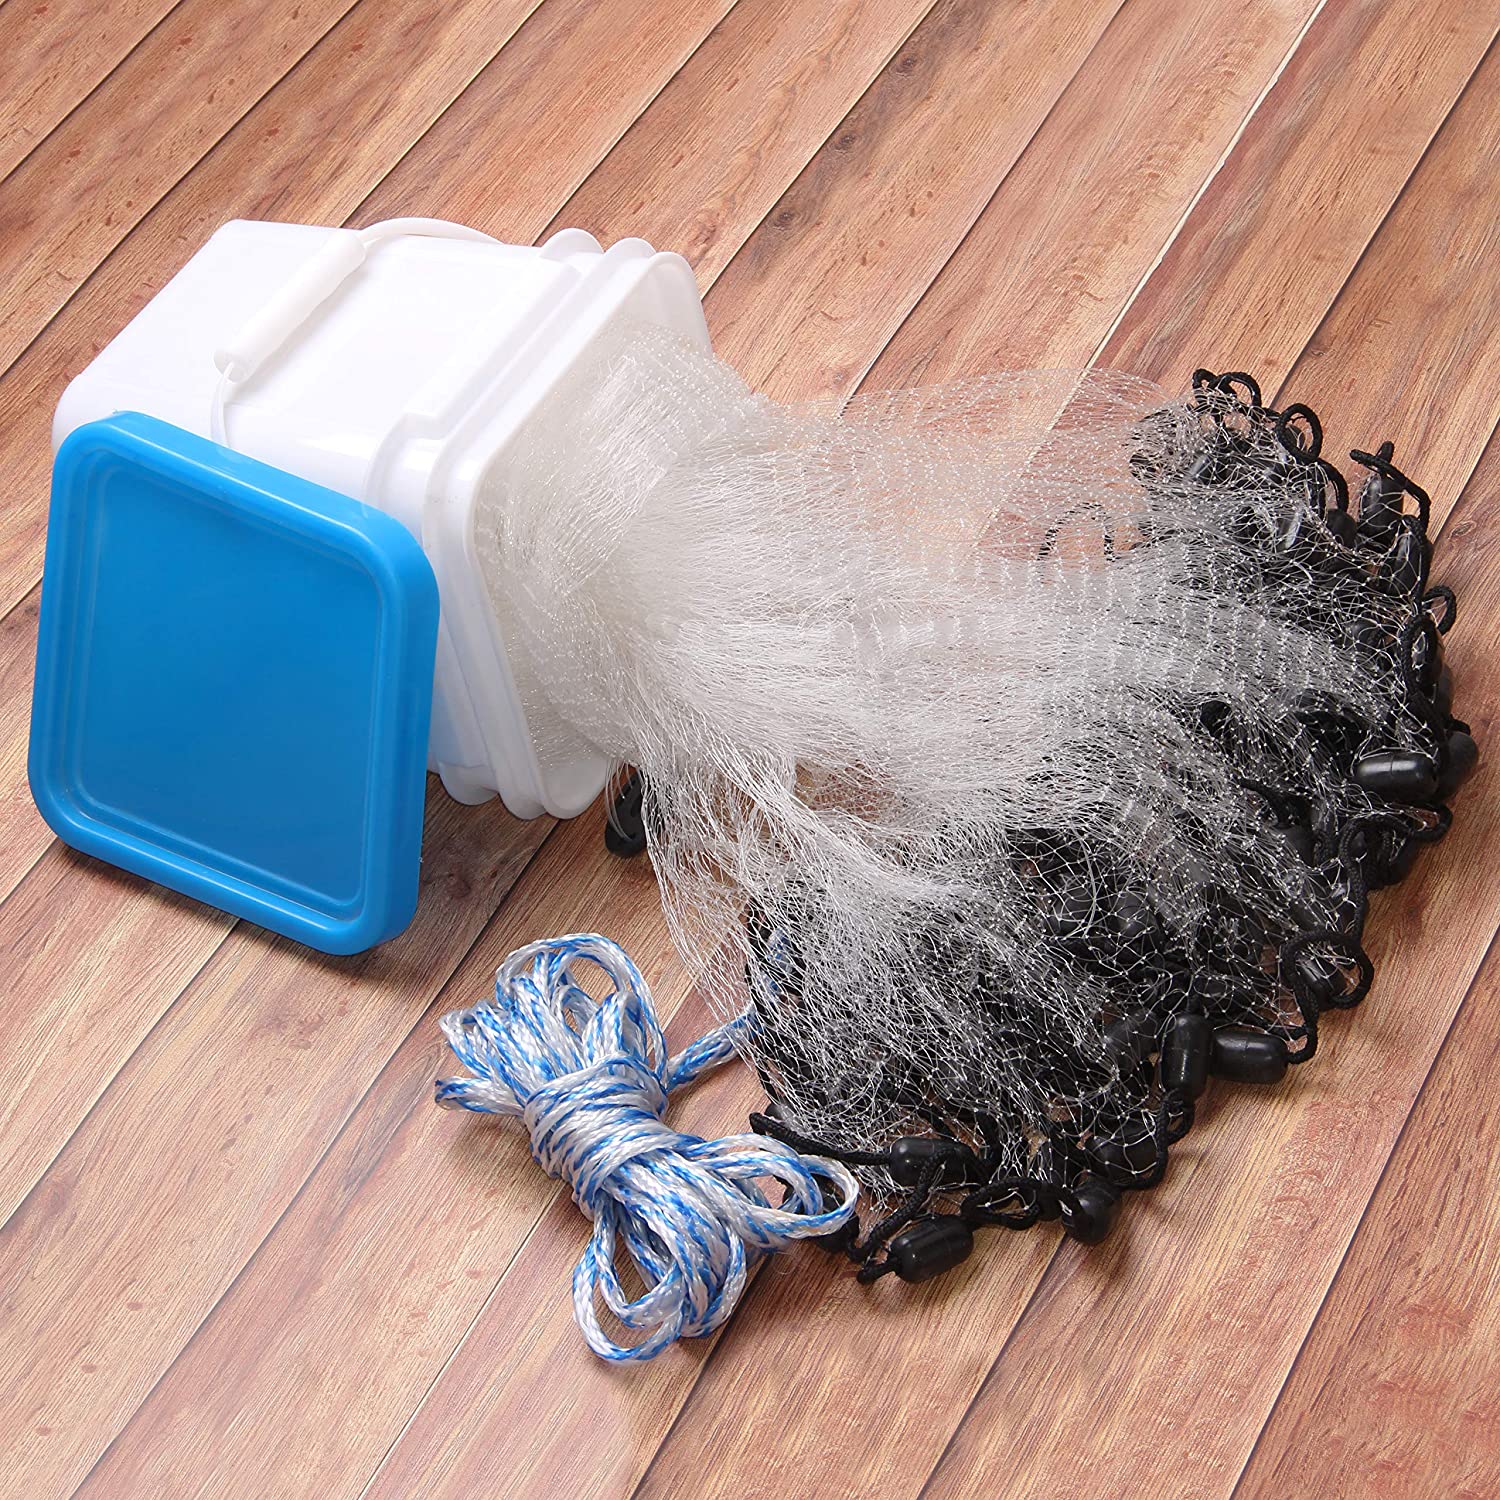
If you want to explore the world of fishing, then one of the things you will need to learn is how to catch bait. I know you can use plastic or dead bait, but if you want to get the full experience, you must learn how to catch bait. The only way to get fresh, live bait is by using a cast net.
Some videos and tutorials talk about using the cast net, but I am going to simplify it for you. Keep reading and find out how to use a cast net to catch live bait.
How to Throw a Cast Net
One of the most important things in using a cast net is learning how to throw it. You want to throw it in such a way that the net won’t get tangled up, you want to get a flat, open net. This might seem like the hardest thing for you to do, but I assure you, it is not. With enough practice, you can find yourself throwing the perfect net in no time.
Holding the net
Before you start throwing the net, you need to learn how to hold it properly. To do this, you will need to:
Hold the yoke of the net in your left hand, or right hand, depending on your dominant hand, and extend it fully. Shake it out and ensure that the lead line at the bottom is not tangled up. Attach the loop of the net to your dominant side. You will need to make sure that the loop points toward the ground without any tangles.
Make coils by looping the hand line over your left hand. The coils you make will depend on the size of your net.
Grip the yoke of the net using your left hand. Doing this allows you to drape the net properly to prepare you for the throw.
All the net parts like the hand loop, the handline, and the yoke are in your left hand. Use your right hand to put the parts into position.
Gather the net properly with your left hand. Half of the net should be in your hand while the other half is hanging on its own. The lead line mustn’t be tangled to ensure a correct throw.

Setting the Throw
Once you have gripped the net properly, we move on to setting up the throw. This step is going to help you set up the perfect throw to get the net fully open.
Using the same position, take half of the remaining net into your right hand. Straighten the net when gathering it up to avoid tangles. The horn should rest outside your left hand with the weights directly below your right hand on the deck. Doing this makes the net more manageable.
Transfer the net from our right hand to the palm of your left hand. This should form another loop. The points should not cross over each other. Splitting the weights is also another step you can take to make the net manageable.
Place the lead line at the bottom between your teeth. Make sure you only put the rope between your teeth and not the weights. If you don’t want to throw using your teeth, you can lay the portion over your left hand or throw it over your shoulder. Make sure the halves of the skirt are balanced so that it doesn’t slip off.
Now take the portion of the lead line that is hanging away from your teeth, or your shoulder, and let it rest on your fingers holding it firmly. This is going to open up the skirt to get the full opening when you throw the net.
Grab the net hanging 2-3 feet below your left hand. Make sure you hold it tightly and don’t change your position. Altering the position can throw off your accuracy.
At this point, you should have the weight of the net evenly divided between your hands, and you are ready for the throw.

Casting the net
You have to remember to use you’re only going to use the weight of the net and your upper body motion to get the net to open up. It doesn’t matter how hard you throw it, focus on the movement of your upper body, your lower body should stay as still as possible.
You can practice rotating your upper body while on dry land to see how the net opens. Do a few rotating motions and see how open you get the net. Once you feel like you have mastered it, you can now move on to a boat. You are not ready to use your skills in the water yet. Practice casting the net on your boat on dry land first before you take it out on the water. Make sure you hold on the parts tightly so that you don’t loosen your grip.
Twist your upper body to 90-120 degrees to prepare for throwing. Get ready to let go of the net when you turn to face your target. Remember not to move your lower body. Bend your knees to lower your center of gravity so that you don’t lose your balance.
Release the net. Don’t just throw it, allow it to open and follow through by letting it slowly slide from your hand. Open your mouth to release the rest of the net from your teeth.
After a few practices on dry land, your net should fully open up. When on water, let it sink to the bottom once it is fully extended, and it should catch the baitfish around it quickly. Do not tug on the hand line until the net fully settles.
Once you have caught enough baitfish, reel the net in by hand. Pull it slowly towards you using the handline on your left wrist through the hand loop. While pulling, the weighted end is going to close up. Make sure you do it slowly so that you don’t lose control of the net and lose your baitfish.
Final Words
If you follow these steps carefully, you will have a net full of fresh baitfish. Always remember to let the net fully extend before sinking it in the water. Practice it on dry land until you get the hang of it. Don’t just throw the net into the water, let it go slowly, following the net itself’s natural pull. Practice throwing the net until you get a perfect throw. Happy fishing!


