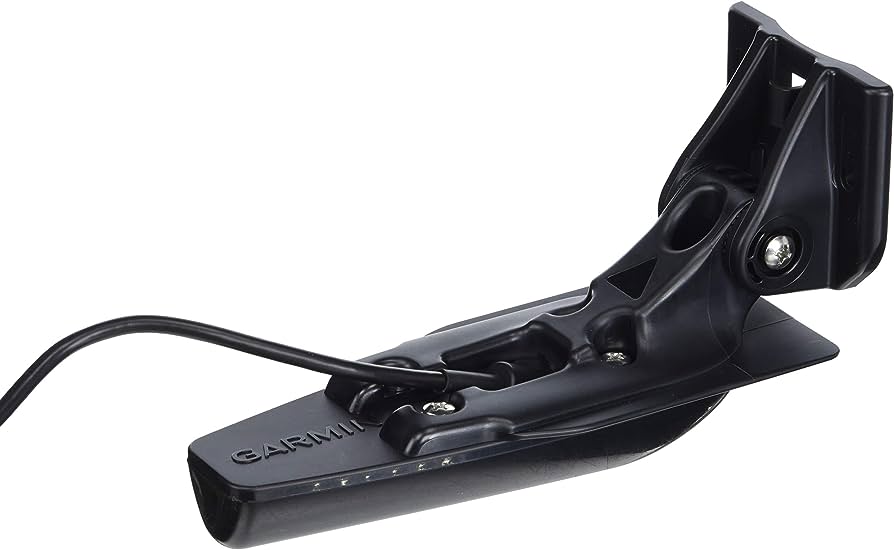
To check a Garmin transducer, you can try a different frequency or inspect the cable and connector head for any damage. Additionally, you can consult the device’s owner’s manual or visit the Garmin website to find the correct frequency and troubleshooting steps for your specific transducer model.
Remember, you cannot test the transducer’s ability to read depth when the boat is not in water.
Symptoms Of A Bad Transducer
Symptoms of a bad transducer include no depth readings, inaccurate depth readings, and erratic or inconsistent depth readings. If you’re experiencing any of these issues with your Garmin transducer, there are a few things you can check before calling customer service.
First, try changing the frequency to see if that resolves the problem. You can also inspect the transducer cable for any damage or loose connections. Another common issue is a disconnected transducer, which can be fixed by reattaching it properly.
Additionally, make sure the power to the transducer is on and check for any error messages on your Garmin device. By troubleshooting these potential problems, you may be able to diagnose a bad transducer and resolve the issues you’re experiencing.
Remember, testing the transducer without the boat being in the water may not provide accurate results.
Checking The Transducer Connection
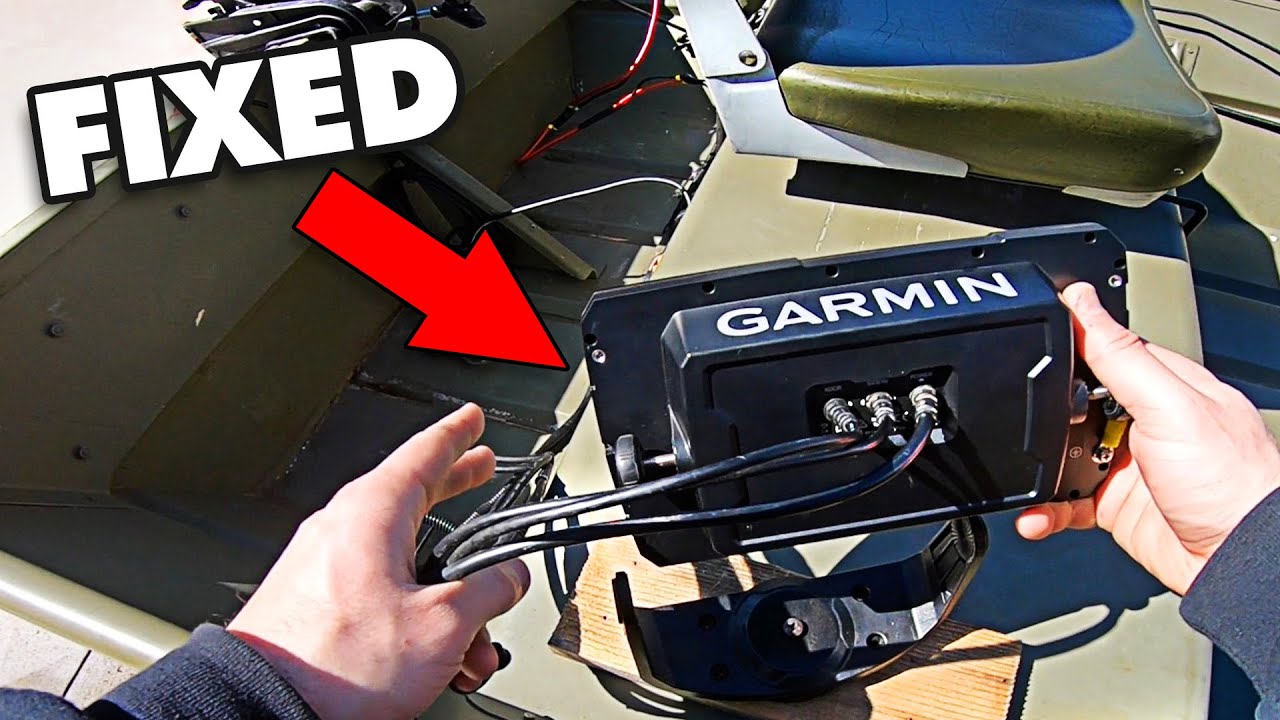
To check the Garmin transducer, first inspect the cable for any damages or wear. Make sure it is securely connected to the fishfinder unit. Clean the transducer pins and connectors to remove any dirt or corrosion. These steps will help ensure proper functionality and accurate readings.
Remember to regularly check the transducer for any signs of damage and address them promptly. By maintaining the transducer, you can enjoy uninterrupted use of your Garmin device and get the most out of its capabilities.
Testing The Transducer
To test the transducer on your Garmin fishfinder, start by placing your boat in the water and powering on the unit. Ensure that the transducer is detecting the depth accurately by checking the readings. Move the boat around to test if the transducer readings remain consistent.
This will help you determine if there are any issues with the transducer. By following these steps, you can ensure that your Garmin transducer is working properly and providing accurate depth readings.

Credit: www.youtube.com
Troubleshooting Common Transducer Issues
To troubleshoot common transducer issues, begin by checking for the “transducer disconnected” error. Ensure all connections are secure and properly plugged in. Next, address any flashing or blank depth numbers by trying a different frequency or resetting the sonar to default settings.
If you encounter power-related issues, check for any connection problems between the transducer and the device. Additionally, if you receive a “transmission disabled” message, verify that the transducer hasn’t been manually disabled and adjust the settings accordingly. By implementing these troubleshooting steps, you can identify and resolve common problems with your Garmin transducer.
Remember to test the transducer in water as it won’t function properly outside of its intended environment.
Resetting The Sonar To Default Settings
To reset the sonar to default settings on your Garmin fishfinder, follow these steps. First, access the sonar settings menu on the fishfinder unit. Next, select the option to reset the sonar settings to default. Then, simply follow the on-screen prompts to complete the reset process.
By resetting the sonar to its default settings, you can ensure that any issues or errors are cleared and the sonar functions optimally. Remember to check the Garmin transducer for any potential problems before making the call to customer service.
By troubleshooting and resetting the sonar on your own, you may be able to resolve the issue without the need for professional assistance.
Contacting Garmin Customer Service
If you are experiencing issues with your Garmin transducer, it is important to reach out to their customer service for assistance. When contacting them, provide detailed information about the problem you are facing and any troubleshooting steps you have already taken.
Garmin customer service will then guide you on the next steps, which may include further troubleshooting or potential repair or replacement options. By following their instructions, you can ensure that you receive the necessary support to resolve any issues you are experiencing with your Garmin transducer.
Frequently Asked Questions For How To Check Garmin Transducer
How Do I Know If My Garmin Transducer Is Bad?
To determine if your Garmin transducer is bad, follow these steps: 1. Check for any symptoms of a bad transducer. 2. Try using a different frequency to see if the issue persists. 3. Contact Garmin Customer Service for assistance. 4. Inspect the transducer cable for any damage.
5. Check the cable connector head and transducer port for any bent or broken parts. 6. Look up the transducer model on the Garmin website to ensure compatibility. 7. Refer to the device’s owner’s manual for further troubleshooting steps. 8.
If all else fails, seek professional help or consider replacing the transducer.
Can I Test My Garmin Transducer Out Of Water?
No, you cannot test your Garmin transducer out of water.
How Do You Diagnose A Bad Transducer?
To diagnose a bad transducer, follow these steps: – Check for symptoms such as irregular readings or no readings at all. – Try using a different frequency to see if the problem persists. – Look for any visible damage or wear on the transducer.
– Contact Garmin customer service for further assistance.
Why Is My Garmin Transducer Not Reading At Speed?
Possible Answer: Check if the transducer cable is damaged and inspect the connector head and port for any issues. Ensure the correct frequency and transducer type are selected. Test the transducer in water as it won’t work out of water.
For more troubleshooting, consult Garmin support.
Conclusion
In order to ensure that your Garmin transducer is functioning properly, there are a few key steps you can take. First, check for any physical damage or wear on the transducer cable and connector head. Bent or broken connectors can cause issues with the transducer’s connection to the device or powered mount.
It’s also important to inspect the transducer port on the device or mount for any damage. Additionally, you should consult the owner’s manual or visit Garmin’s website to verify that you have the correct frequency for your transducer model. Sometimes, unsupported transducer messages can occur if the wrong frequency is selected.
By following these simple steps, you can troubleshoot any potential issues and ensure that your Garmin transducer is in good working order. Remember to regularly check your transducer to maintain optimal performance and accurate depth readings.

