Last updated on February 10th, 2024 at 09:28 am
Last updated on February 10th, 2024
Wondering how to install a fish finder on a Kayak? Don’t worry, we have it all figured out for you.
You must be excited about your new fish finder and raring to take it out on a test. But before you can do that you have to take to the task of installing the transducer or the fish finder.
It is a simple DIY job that can be done with some tools and simple instructions. We will help you out with the instructions part here so that the job becomes far easier for you.
Here’s how we would begin.
How to Install a Fish Finder on a Kayak or a Boat?
Here is all that you need to know.
Step 1
You will need to turn your kayak or boat to find the flattest area of the hull. The area should be free from any kind of restriction so as not to impede the free flow of water.
Clean the area with a rag and use rubbing alcohol or fine emery cloth to roughen the area a bit.
Step 2
Now we have to stick the transducer using slow-cure epoxy or silicone-based adhesive. Apply the adhesive on the bottom of the transducer evenly and place it on the surface. Apply pressure from the top and move a bit from side to side until it presses against the hull.
Make sure there are no air bubbles in it. Let it dry for 24 hours with something placed on it to apply slight pressure. The boat should be kept level during the drying period.
You can also attach the battery box to your boat using the same technique we just discussed.
Step 3
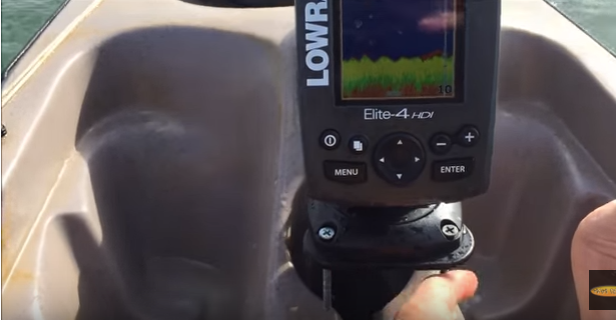
You have to locate a place to mount the display unit on your kayak. Drill a hole so that all cables can go through and fix the mount using screws.
Do not pull out too much cable but enough to reach the display unit. Use a watertight fitting to protect the cables from any damage.
Yep, we are pretty much done and you can set out for your fishing trip!
But ensure that you read the installation instructions in your user’s manual and clearly understand them. Then you can confidently use the instructions in this post.


