Last updated on February 10th, 2024
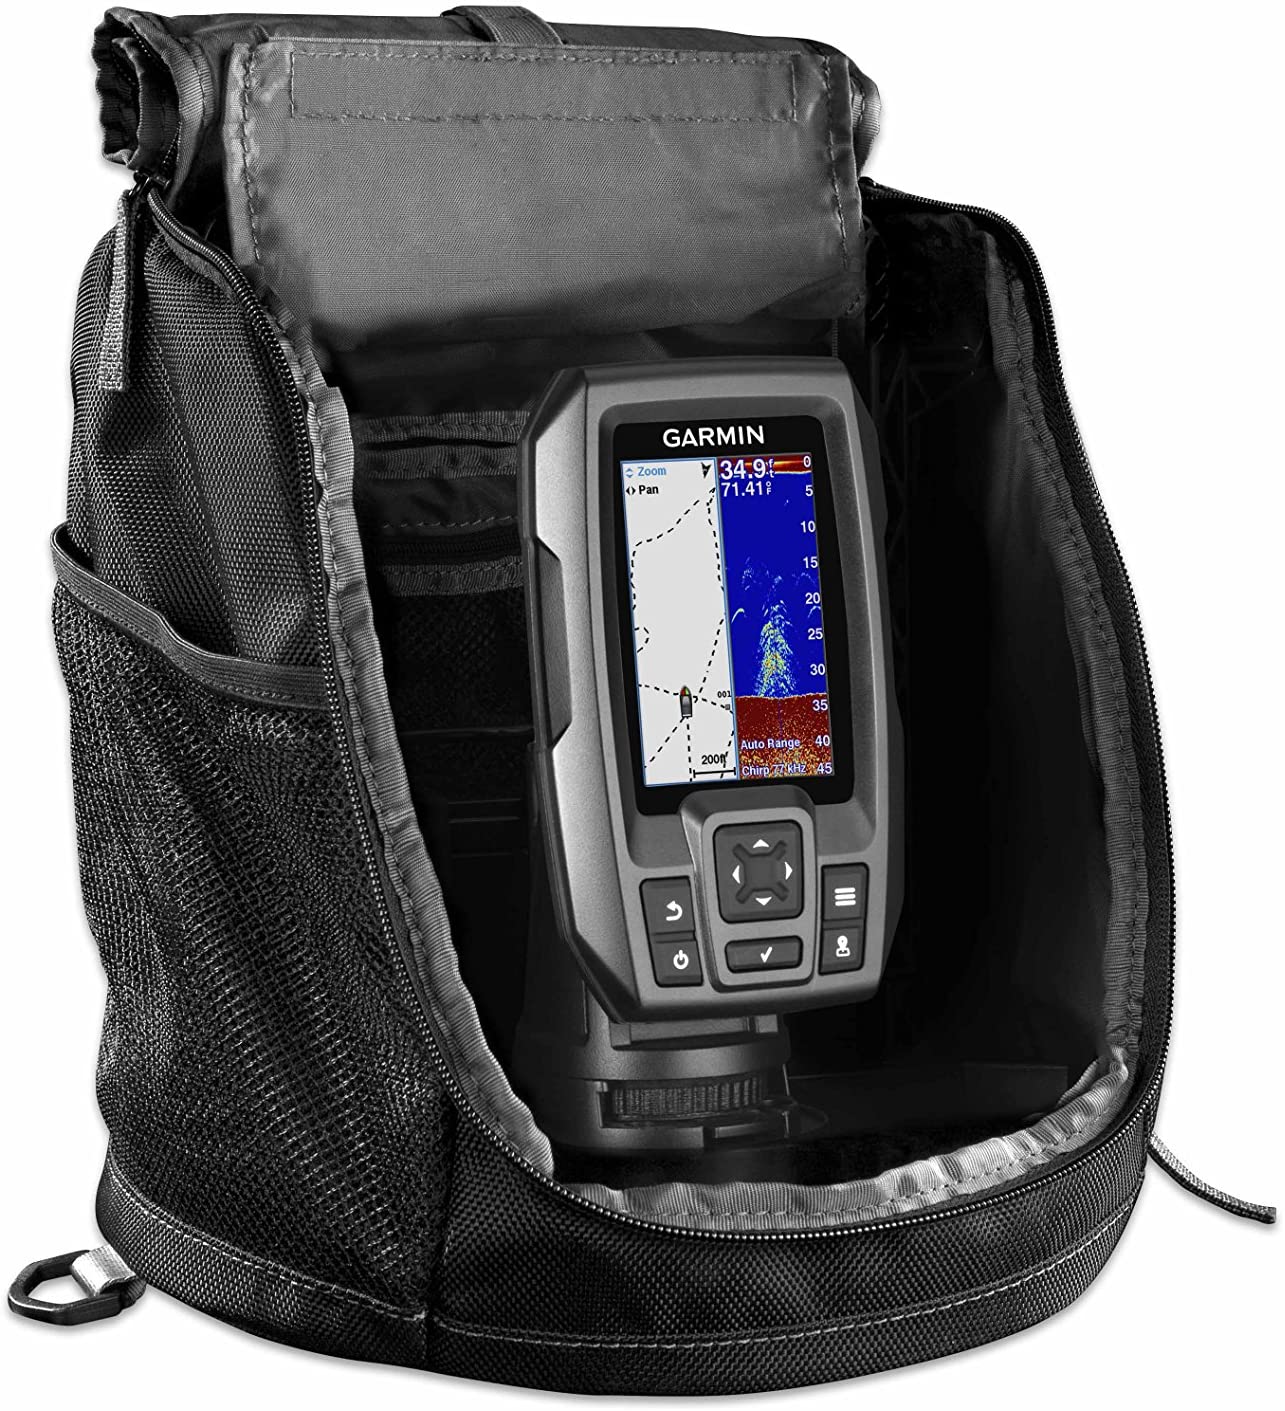
With the advancing technology came fish finders, which have greatly improved the fishing experience for so many people. Fishfinders have greatly helped to improve the fishing sport by helping anglers actively search for fish with more chances of success. Garmin Striker 4 is one of the most popular fish finders on the market today.
Garmin striker 4 is affordable and accurate with an easy-to-use interface. If you have recently purchased a Garmin Striker 4, then you must be wondering how to go about its installation. I am going to discuss everything you need to know on how to install Garmin striker 4.
How to install Garmin Striker 4
When installing the Garmin striker 4, you need to keep a few things in mind.
- Know where you are going to install the main head unit.
- Consider the area the power source unit will be stored.
- And lastly, know where to fit the transducer.
You will find that some kayaks will come with a removable sonar pod where the striker 4 can be installed. However, some kayaks don’t offer such, and while they are all different so will the installation.
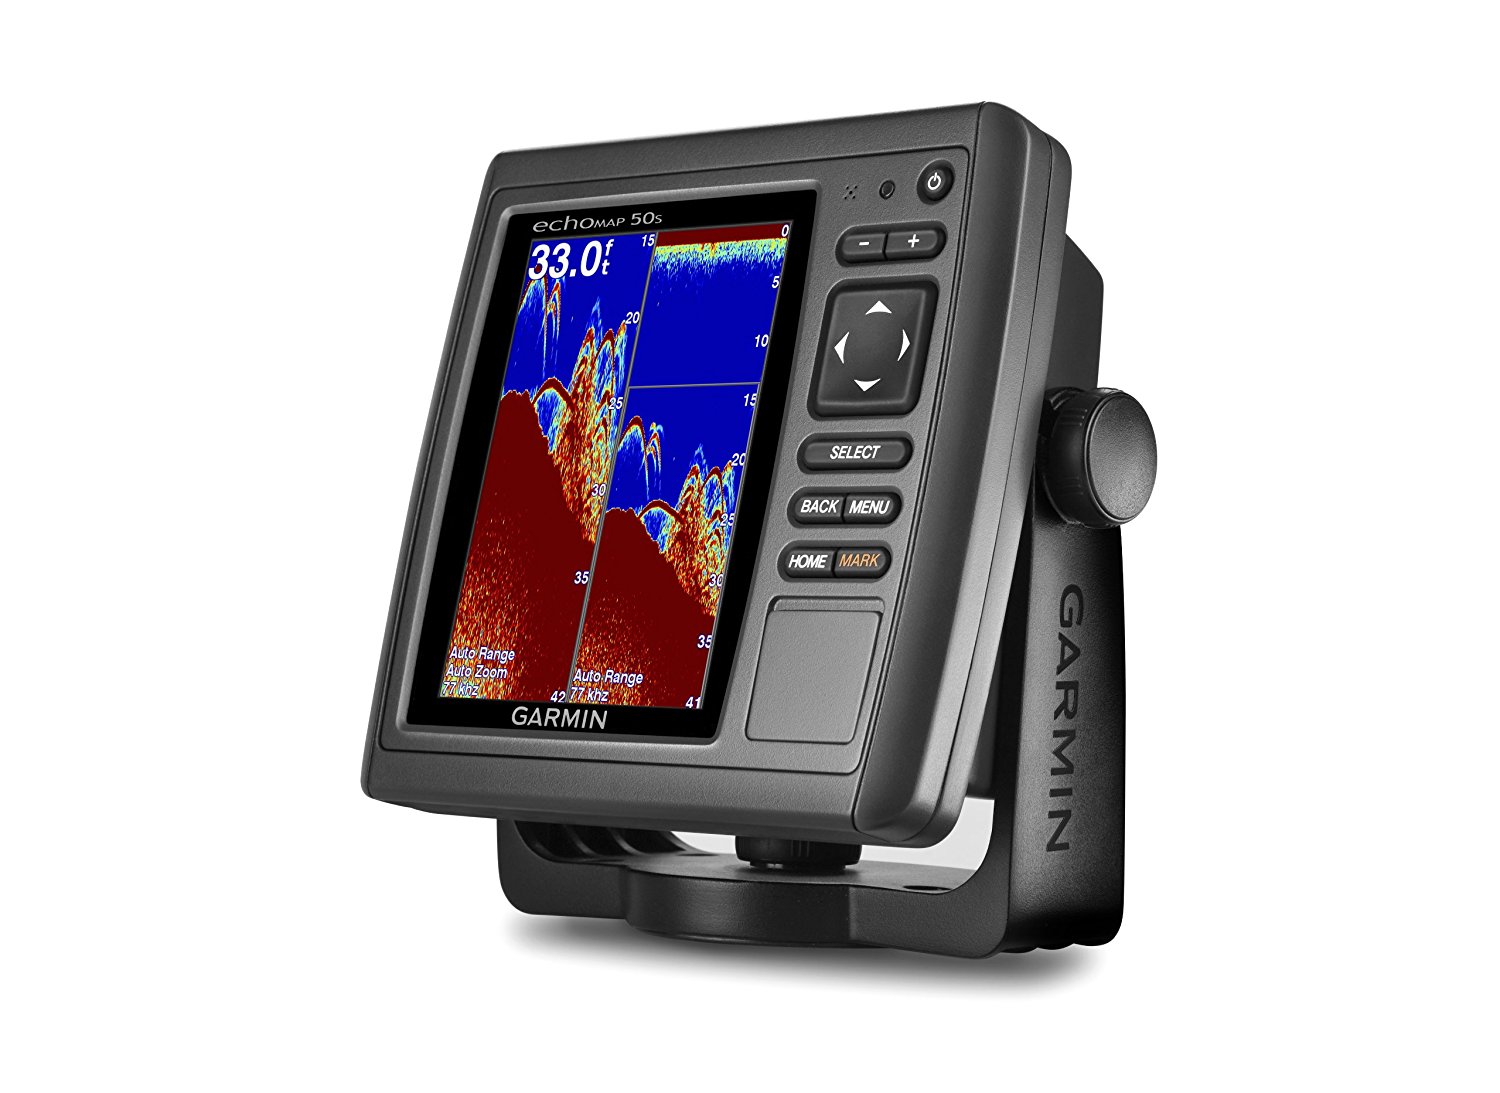
Installing the Garmin Striker 4 Display
Your Garmin Striker 4 will come with a mount, and it will be up to you to find a suitable flat surface on your kayak to install the display. I recommend you find a spot that you can easily access. I would say a center console or even on the side of the foot is perfect. However, you might find that some kayaks, it might not be easy to mount the display since the footprint might be too big.
In this case, you can look for a ram mount made for Garmin fish finders. The Ram mount will also offer you an option to mount the Garmin striker 4 display on the slide track if your kayak has one.
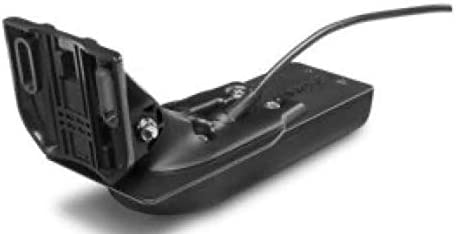
Installing the Transducer
The transducer is the device that is part of the Garmin striker 4 that will ping the sonar in the water column to pick up return signals. A transducer can be installed in different ways, depending on the type of kayak or vessel you are using for fishing. Some of the installation methods include the following.
- In-Hull transducer mounting
Here you can bond the transducer with the inside of the hull of your kayak. To install the transducer inside the hull, you will have to encase the transducer in an adhesive strong enough to hold onto the plastic or surface. I recommend using a flexible adhesive because these don’t pop off after some time.
Once you get the best adhesive, make a transducer well by cutting a rectangular foam with dimensions of 60 to 80 mm in length and width. Place the transducer on the foam and draw around it on the outer edges.
Remove the transducer and cut out the shape you drew on the foam as you will have to glue it inside the hull. Now fill the transducer well with adhesive making sure there aren’t any air bubbles trapped in the glue, which can cause sonar reflectance. Once everything is clear, you can push down the transducer inside the hull.
- Arm installed transducers
Here the transducer is installed on the arm, which usually extends on the side of your vessel. You can use a deck or slide track mount when installing a transducer in this method. When you install the transducer on the arm, it will get full contact with the water hence giving you accurate readings.
- Scupper mounted transducers
This kind of installation is only common with some types of vessels which come with molded-in recesses located under the hull. For this installation, a special mount is needed to fit your Garmin striker 4 transducer.
- Powering the Garmin striker 4
Once you install the display and the transducer, you can now power up the fish finder. Using a 12v battery, you can power up this fish finder for some time while on the water. You can store your battery in a waterproof bag to keep it dry throughout.
Place the battery in a way that the power lead is positioned at a small opening. Once everything is set, you can then power on your Garmin Striker 4.
Final words
Installing the Garmin Striker 4 is straightforward and regardless of your experience with fish finders. I hope you found this guide useful, and you can now install that Garmin striker 4 fishfinder.

