To install the Yakattack Fish Finder Mount, follow these steps: Position the mount on your kayak and mark the drilling holes. Drill the holes according to the manufacturer’s guidelines.
Attach the mount securely using the provided screws and hardware.
Step 1: Gathering The Necessary Tools
To install the Yakattack Fish Finder Mount, it is important to have all the necessary tools. These tools are essential for a successful installation process. First, gather a power drill, a tape measure, a screwdriver, and a pencil. The power drill will be used to create holes for the mount.
The tape measure will help ensure precise measurements for accurate placement. The screwdriver will be needed to secure the mount in place. Lastly, the pencil will be used to mark the drilling points. Having these tools ready will make the installation process much smoother.
So, gather all the necessary tools before starting the installation to ensure a hassle-free experience.
Step 1.1: Checking The Contents Of The Package
After receiving your Yakattack Fish Finder Mount package, take a moment to ensure that you have received all the components that are mentioned in the package. It is important to check whether you have received everything that you will need for the installation process.
By doing this, you can avoid any potential delays or disruptions during the installation process. Make sure that all the required components are present, including screws, brackets, mounts, and any other necessary items. If any of the components are missing or damaged, contact the seller or the manufacturer immediately to resolve the issue.
Step 2: Preparing The Mounting Area
When installing a Yakattack fish finder mount, it is crucial to select the ideal location on your kayak. Considering factors such as accessibility and visibility will ensure a better fishing experience. Look for a spot that is easily reachable and provides a clear view of the fish finder display.
Keep in mind that you want to avoid any potential obstructions that may hinder your ability to see the screen while on the water. Additionally, consider the stability of the mounting area to ensure that the fish finder mount stays securely in place.
By following these guidelines, you can optimize the placement of your Yakattack fish finder mount for effective and efficient use on your kayak.
Step 2.1: Measuring And Marking The Mounting Area
To install a Yakattack Fish Finder Mount, it is essential to measure and mark the chosen area accurately. This ensures a precise installation. Begin by measuring the spot where you want to mount the fish finder. Use a measuring tape to get accurate measurements.
Once you have the measurements, mark the chosen spot with a pencil or marker. Double-check the markings to ensure they are aligned properly. This step is crucial in ensuring the mount is in the correct position. Take your time and be precise with your measurements and markings.
This will set the foundation for a successful installation of your Yakattack Fish Finder Mount. Remember, accuracy is key in achieving the best results.
Step 3: Mounting The Yakattack Fish Finder Mount
To mount the Yakattack Fish Finder Mount securely to the kayak, follow these steps. First, ensure that the mount is positioned in the desired location on the kayak. Next, use the provided screws or bolts to attach the mount to the kayak’s surface.
Make sure to tighten them firmly to ensure stability. It is important to double-check that the mount is securely fastened before proceeding. Once the mount is securely attached, place the fish finder unit onto the mount and lock it in place according to the manufacturer’s instructions.
This will ensure durability and prevent any accidental dislodgment. Take the time to test the stability of the mount before heading out on your next fishing trip. Enjoy the convenience and functionality that the Yakattack Fish Finder Mount brings to your kayak fishing experience.
Happy fishing!
Step 3.1: Positioning The Mount
Positioning the Yakattack fish finder mount is a crucial step in the installation process. Adjusting the mount to the desired angle and position on the kayak ensures optimal performance. Carefully consider the best placement for easy accessibility and clear visibility while on the water.
Experiment with different positions before finalizing the mount’s location. Take into account factors like comfort and ease of use, as well as any potential obstructions or interference. By finding the perfect spot for your fish finder mount, you’ll enhance your fishing experience and maximize your chances of locating those elusive underwater targets.
So, take your time, make adjustments as needed, and find the ideal position for your Yakattack fish finder mount on your kayak.
Step 3.2: Drilling Pilot Holes
Drilling pilot holes on the marked spots is an essential step in installing the Yakattack Fish Finder Mount. By drilling these holes, you can ensure easy installation and secure attachment of the mount. It is important to use a drill bit that matches the size of the mounting hardware provided.
Place the drill bit on the marked spots and apply gentle pressure to drill the pilot holes. Make sure to keep the drill steady and perpendicular to the surface to avoid any damage. Once the pilot holes are drilled, you can proceed to secure the mount using the provided screws.
Take your time during this step to ensure accurate placement and alignment. By following this process, you can successfully install the Yakattack Fish Finder Mount.

Credit: www.amazon.com
Step 3.3: Installing The Mounting Hardware
With the Yakattack Fish Finder Mount, installing the mounting hardware is a breeze. Fixing the mount onto your kayak is simple using the provided screws and bolts. Just ensure that you have the proper tools on hand for a smooth installation process.
Take your time to carefully align the mount to the desired location on your kayak. Once aligned, begin attaching the screws and bolts firmly, but not too tight. You want to secure the mount in place without causing damage. Double-check that everything is securely fastened before continuing.
This step is crucial to ensuring that your fish finder mount remains stable and functional during your fishing adventures. Once complete, you’ll be ready to move on to the next step in setting up your fish finder.
Step 4: Installing The Fish Finder
Installing the fish finder onto the Yakattack Fish Finder Mount is a straightforward process. Start by attaching the mount to your kayak using the provided screws and a screwdriver. Align the fish finder with the mount’s pre-drilled holes, ensuring a secure fit.
Use the mounting plate and screws to secure the fish finder to the mount. Double-check that everything is tightly fastened before taking your kayak out on the water. With the fish finder properly installed, you’ll be able to easily locate and track fish, enhancing your fishing experience.
Enjoy the convenience and efficiency that the Yakattack Fish Finder Mount provides, making your fishing trips more successful.
Step 4.1: Attaching The Transducer
Attaching the transducer is a crucial step in installing the Yakattack fish finder mount. To ensure accurate readings, it is important to mount the transducer securely. By following the instructions provided, you can achieve this. Place the transducer bracket in the desired location on your kayak or boat.
Make sure it is level and aligned properly. Use the provided screws and a screwdriver to firmly attach the bracket. Double-check the tightness to ensure stability during usage. Then, carefully attach the transducer to the bracket, ensuring it is secure and in the correct position.
Avoid any loose connections or obstructions that could affect the readings. Taking the time to mount the transducer securely will guarantee accurate and reliable fish finder data while you’re out on the water.
Step 4.2: Connecting The Cables
To properly connect the cables from the fish finder to the kayak, start by identifying the correct connectors. Gently insert the plugs into their corresponding ports, ensuring they fit securely. Avoid forcing the connections as it may damage the cable or port.
Once connected, carefully organize the cables to prevent tangling or obstruction. Use zip ties or adhesive clips to secure the cables along the kayak’s frame, keeping them neat and out of the way. It’s crucial to follow the manufacturer’s instructions for cable routing, as improper placement can interfere with the fish finder’s performance.
Double-check that all connections are secure and test the fish finder to ensure it’s functioning properly. With a good cable connection, you’ll be able to enjoy accurate fish tracking on your kayaking adventures.
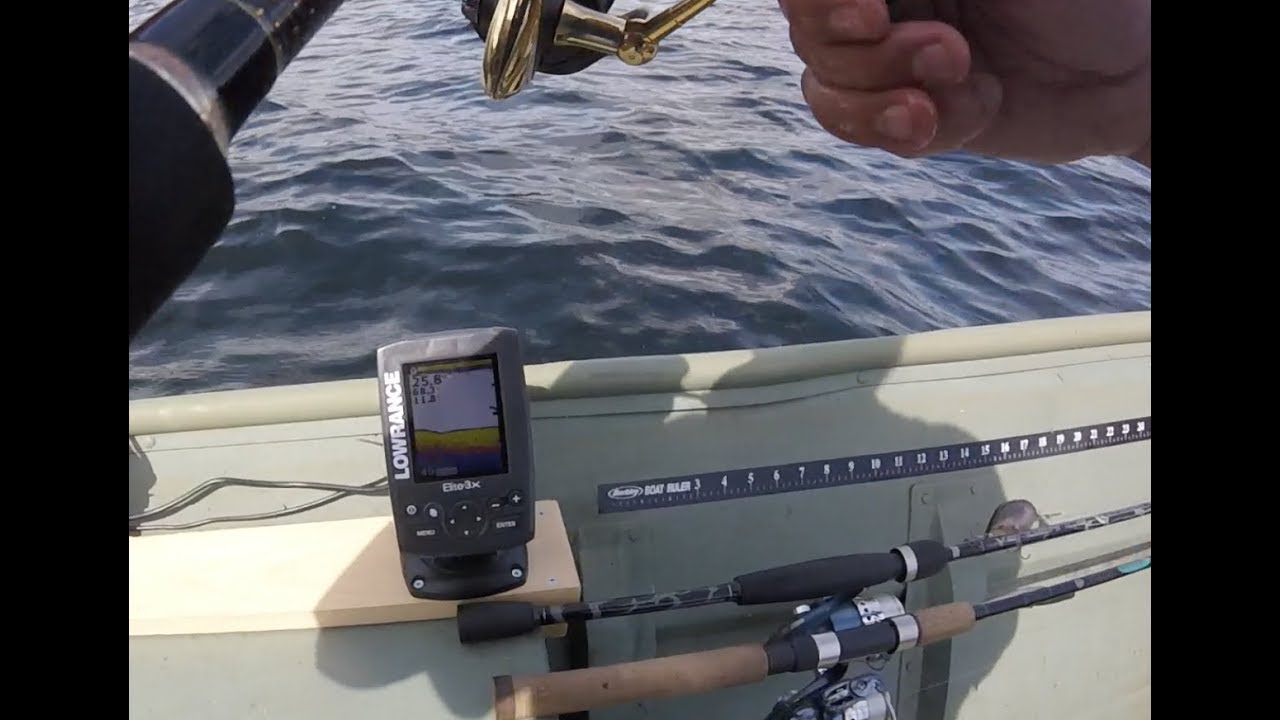
Step 5: Testing And Adjusting The Setup
To ensure that your Yakattack fish finder mount is properly installed and functioning, it is important to conduct a thorough testing and adjustment process. After completing the installation steps mentioned earlier, take the time to check if the fish finder is working correctly.
Turn on the device and observe the screen for any display issues or abnormalities. Ensure that the fish finder is picking up signals and providing accurate readings. Additionally, check if the transducer is properly fitted and submerged in the water.
Make any necessary adjustments to the position of the transducer and test the fish finder in different environments to confirm its functionality. By carefully testing and adjusting the setup, you can ensure that your Yakattack fish finder mount is installed correctly and ready for your fishing adventures.
Step 5.1: Powering On The Fish Finder
To power on the Yakattack fish finder once it is installed, simply press the power button. Check the display for any error messages, indicating potential issues with the device.
Step 5.2: Adjusting The Settings
To optimize the performance of your Yakattack fish finder mount, it is essential to adjust the settings correctly. This can be done by following these steps carefully. First, ensure that you have the user manual handy for reference. Next, locate the settings menu on the fish finder display.
Once you have accessed the settings, navigate to the configuration options. Here, you can customize settings such as depth range, sensitivity, and display brightness. Take your time to adjust these settings according to your fishing preferences and the conditions of your fishing spot.
Remember to save the changes before exiting the settings menu. By configuring the fish finder settings accurately, you can enhance its performance and make your fishing experience more enjoyable.
Step 6: Maintenance And Care Tips
Proper maintenance and care of your Yakattack Fish Finder Mount is crucial for its longevity and optimal performance. It’s recommended to regularly inspect the mount for any signs of wear and tear. Clean it using a mild soap and water solution to remove dirt and debris, ensuring all the connections are secure.
Avoid using harsh chemicals or abrasive materials that could damage the mount. Store the mount in a dry and safe place when not in use, protecting it from extreme temperatures and exposure to sunlight. Regularly check the mounting hardware to ensure it remains tight and secure.
By following these simple maintenance tips, you can ensure that your Yakattack Fish Finder Mount lasts for a long time and functions at its best during your fishing expeditions.
Step 6.1: Regular Cleaning
Regular cleaning of the Yakattack fish finder mount is crucial to ensure its longevity. To clean the mount and fish finder, follow these simple steps. First, disconnect and remove the fish finder from the mount. Then, using a soft cloth or sponge, wipe down the mount and fish finder with a gentle cleaning solution.
Avoid using harsh chemicals that may damage the equipment. Rinse off any residue with clean water and dry thoroughly before reattaching the fish finder to the mount. Regular cleaning not only keeps the mount looking its best but also prevents dirt and grime buildup that may impact the functionality of the fish finder.
Taking the time to clean the mount and fish finder will help maintain their performance and extend their lifespan.
Step 6.2: Protection From Elements
Installing a Yakattack fish finder mount is a great step towards enhancing your fishing experience. However, it is important to protect the mount and fish finder from harsh weather conditions. One way to achieve this is by using a protective cover specifically designed for fish finders.
These covers are usually made of durable materials that can withstand rain, sun, and other elements. Another option is to install a rainproof housing for your fish finder. This will provide an extra layer of protection against water damage. Additionally, regularly cleaning and drying the mount and fish finder after each fishing trip will help prevent any potential damage caused by moisture.
By taking these precautions, you can ensure that your Yakattack fish finder mount stays in good condition and continues to provide accurate readings for your fishing adventures.
Step 6.3: Storage Recommendations
Proper storage techniques are essential to prevent damage to your Yakattack Fish Finder Mount when not in use. To ensure its longevity, consider these guidelines. Firstly, store it in a dry and clean environment. Secondly, avoid placing heavy objects on top of it.
Additionally, protect it from extreme temperatures and direct sunlight. It is also advisable to store it away from any chemicals or corrosive substances. Moreover, use a storage bag or container specifically designed for fish finder mounts to minimize the risk of scratches or impact damage.
Remember to detach and safely store any accessories to keep them in good condition as well. By following these storage recommendations, you can prolong the lifespan of your Yakattack Fish Finder Mount and avoid unnecessary repairs or replacements.
Step 7: Troubleshooting Common Issues
Step 7: Troubleshooting Common Issues Encountering problems while installing your Yakattack fish finder mount? Don’t worry, we’ve got you covered. Here’s a troubleshooting guide to help you resolve any common issues that may arise. Firstly, double-check your connections to ensure they are secure.
If the mount isn’t functioning properly, confirm that it is securely attached to your watercraft. In case of a power issue, make sure the battery is fully charged. If you’re experiencing interference or incorrect readings, try repositioning the transducer. It’s also important to inspect the wiring for any damage or loose connections.
By following these simple troubleshooting steps, you can quickly address any installation hurdles and get your Yakattack fish finder mount up and running smoothly.
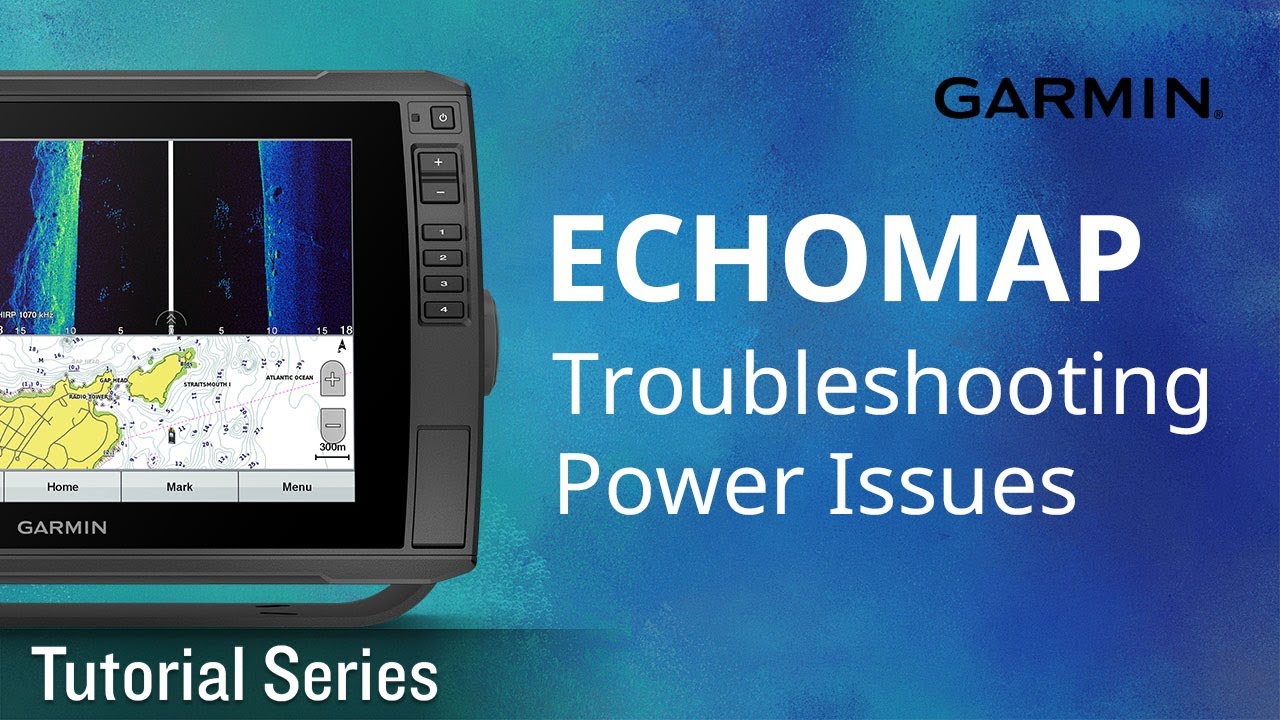
Step 7.1: No Power Supply
Installing the Yakattack fish finder mount is a relatively straightforward process. However, there may be instances when your fish finder fails to power on. Don’t worry, there are steps you can take to troubleshoot this issue. Firstly, check the power source and ensure it is connected properly.
Then, inspect the wiring for any loose connections or damage. If everything seems fine, try resetting the fish finder by turning it off and on again. If the problem persists, consider testing the power supply with a different device to identify if it’s a power supply issue.
Additionally, check the battery and replace it if needed. If none of these steps work, it may be necessary to seek professional assistance to resolve the power supply problem. By following these steps, you can troubleshoot power issues with your Yakattack fish finder mount effectively.
Step 7.2: Inaccurate Readings
Inaccurate readings on your fish finder can be frustrating and hinder your fishing experience. However, there are solutions to help you deal with this issue. Firstly, ensure that the transducer is properly installed and securely mounted to your kayak. Check for any interference from other devices or electronics that might be affecting the readings.
If all seems well, try adjusting the sensitivity settings on your fish finder to see if that improves accuracy. Sometimes, water conditions can also impact readings, so take note of any changes in water depth or clarity. Another possible solution is to update the software on your fish finder to the latest version.
Finally, if none of these solutions work, consider contacting the manufacturer for further assistance. By following these steps, you can minimize inaccurate readings on your fish finder and make the most of your fishing trips.
Frequently Asked Questions Of How To Install Yakattack Fish Finder Mount
How Do I Install The Yakattack Fish Finder Mount?
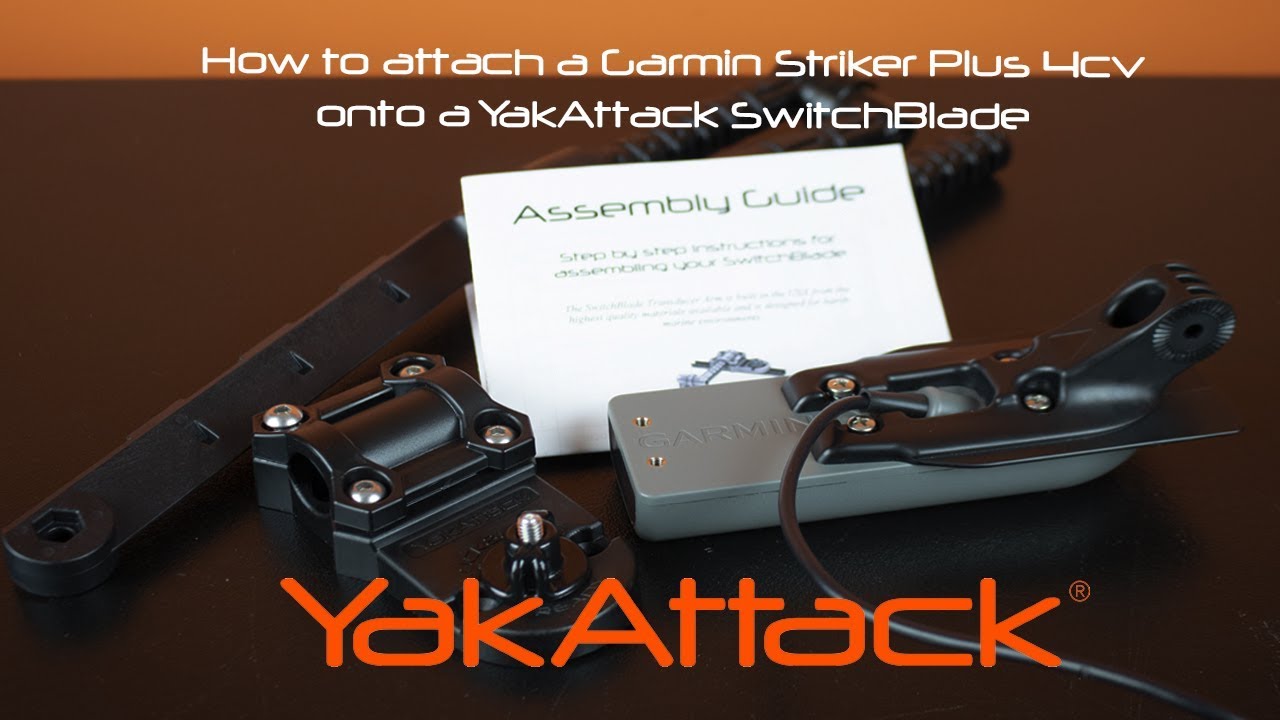
To install the Yakattack Fish Finder Mount, start by attaching the mounting plate to your kayak using the provided hardware. Then, slide the fish finder arm into the plate and secure it with the locking mechanism. Finally, mount your fish finder onto the arm and adjust it to your desired position.
What Tools Do I Need For Installing The Yakattack Fish Finder Mount?
To install the Yakattack Fish Finder Mount, you will need a screwdriver, a drill with the appropriate drill bit, and the provided mounting hardware. Additionally, some kayaks may require additional tools depending on the kayak’s construction and mounting options.
Can The Yakattack Fish Finder Mount Be Installed On Any Kayak?
Yes, the Yakattack Fish Finder Mount is designed to be compatible with most kayaks. It features a versatile mounting system that can be adjusted to fit various kayak shapes and sizes. However, it is always recommended to check the compatibility of the mount with your specific kayak model before installation.
Conclusion
Installing the Yakattack Fish Finder Mount can greatly enhance your fishing experience. Its easy installation process ensures that even beginners can set it up without any hassle. The adjustable design allows you to position your fish finder at the perfect angle for optimal visibility.
The durable construction ensures that it can withstand the rigors of fishing and last for a long time. With the Yakattack Fish Finder Mount, you can have peace of mind knowing that your fish finder is securely and conveniently mounted on your kayak or boat.
This enables you to focus on what matters most – catching fish. So, whether you’re a seasoned angler or a newbie, investing in the Yakattack Fish Finder Mount is a wise choice that can take your fishing game to the next level.

