Last updated on January 3rd, 2021
Don’t know how to patch a float tube? Well, then you should learn the process attentively and also you need to know what repair kits you need.
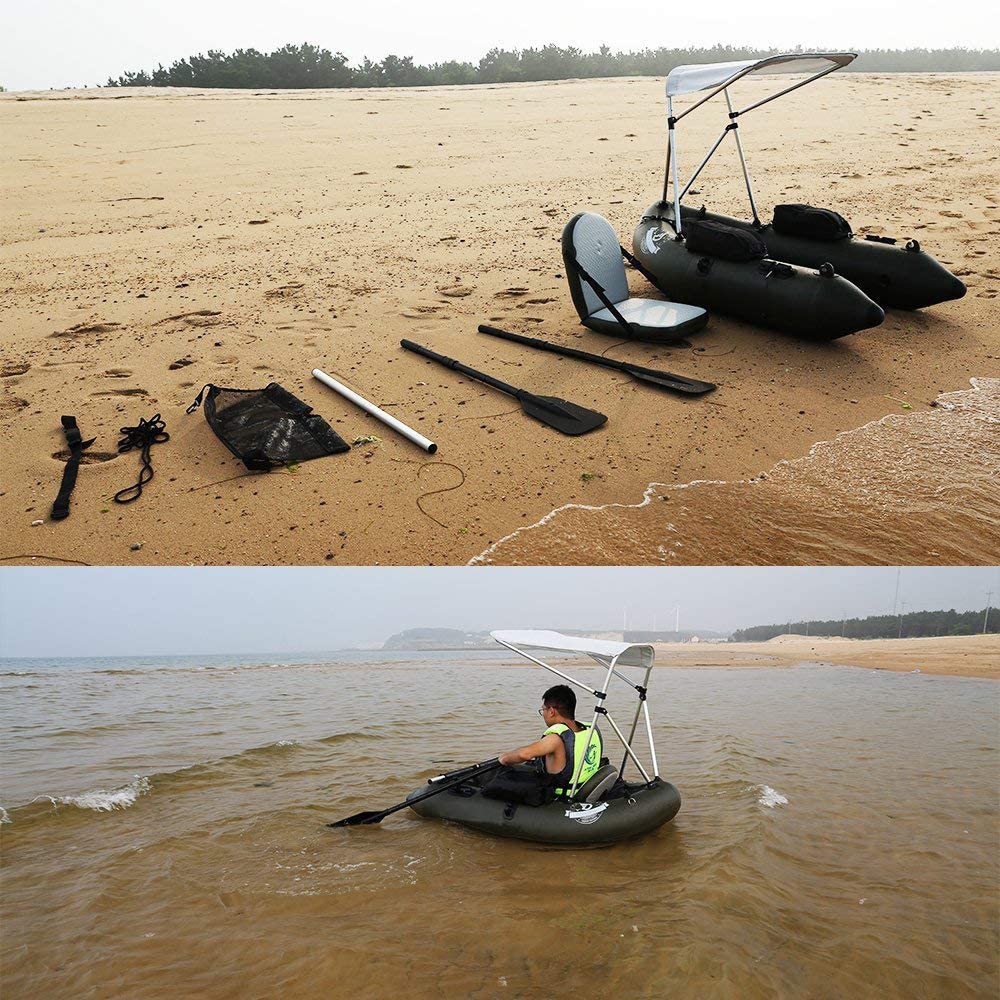
As a tuber, you should be able to repair leaks in the air chambers of your craft and sometimes in the waders too. You need to carry the right patch kits for both. Some special repair tapes are available in the market that will support you a lot for serviceable quick repairs.
However, some permanent repair adhesives take a little more time to solve the problem, but they will give you protection for long period. When you are on a multi-day trip, you can repair your tube, toon or waders have your tube, toon or waders soon enough to salvage the trip.
I’m going to show you the procedures. Let’s have a deeper look-
How Do You Find a Hole In a Tube?
When rocks, seams or anything else causes large holes, then the task is generally simple to find them. But it’s a little bit difficult in terms of a small pinhole.
Though finding is hard, you may patch a small hole quickly, even while you are going to any place.
You may hear a sharp sibilant sound and see bubbles if it’s a large hole.
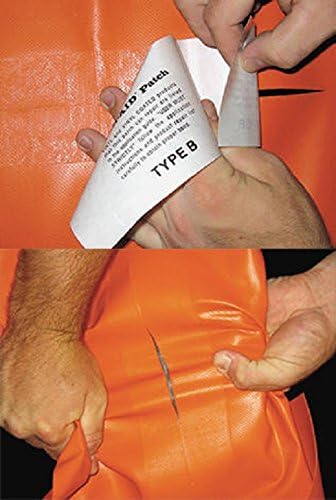
Tear-Aid Vinyl Repair Patch Kit
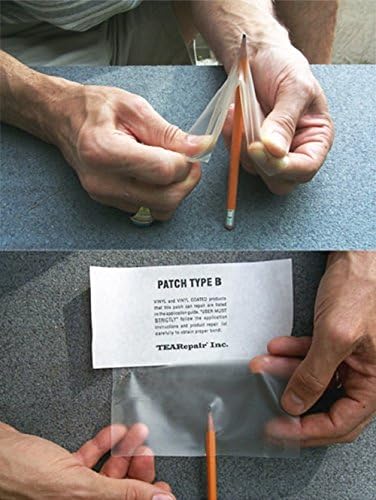
Tear-Aid Repair Type B Vinyl Kit
Can’t you spot the leaks? Then push down the tube in the water and try to look for the bubbles and hiss sound. Trying this in a lake will make your job easy.
When you are doing this at your home, then a pool might make your job easy because you need to push down your tube in the water gradually. If you can manage a partner to help you that would be better, as this isn’t easy to do.
When your belly boat doesn’t fit the pool, you have to do the work in other way. Inflate the tube enough and bringing a bucket of water, start pouring on the tube and find bubbles. Check the entire tube attentively. After finding the leak, mark it.
Keep in mind that there might be several pinholes or tears, so it would be a wise decision to continue checking.
You obviously don’t want to repeat the process. Hence, check the entire tube properly.
Select The Right Repair Kit
You already have known where the leak is, now you need to identify the materials of your inflatable fishing craft. Generally, most of the float tube comes with vinyl, rubber, and PVC. You should find it on the product’s websites or user manual.
Make sure the same materials of the craft and the patch. Besides, you should use an adhesive. It’s compatible with the materials. Many people prefer PVC adhesive, though in my point of view, it isn’t fully perfect for all types of surfaces.
Prepare The Area
Before starting to repair your craft, you have to prepare the area that you’re going to repair. Prepare the area following the instructions below.
Deflate the float tube completely. To remove the dust on the surface, you have to clean the affected area properly. Then dry it well. You should use a microfiber towel. For better results, you may choose isopropyl or PVC.
Now, start to cut the patch with a scissor. Ensure the patch is large enough to overlap the hole.
Start To Repair
Stick The Patch In Place
At first, ensure a little air left inside the chamber to separate the affected area from the inside walls – a minimum of 1 inch. Now, your job is to apply glue to one side of the patch. Leave it for 5 minutes, you should finish applying glue to the affected area of your belly boat during this period.
Then you need to use glue on the patch surface again. Apply pressure with your hands and stick the patch in place. Make sure there aren’t any air bubbles trapped in the glue. It’s useful to use a small foam roller for removing air bubbles.
To inflate the float tube fully, you should wait 24 hours or a little bit more. Clean the extra glue around the patch.
Use Sealants
If the air leak is very small, you most probably, won’t find it with soapy water. It’s really difficult to find any air leak around the air valve.
You may opt for boat sealants instead of the patches in such kind of cases.
Remember, boat sealant are liquid adhesive. They leave a thin film on the inner surface of the chamber which makes a barrier for air escaping. When you want to apply boat sealants, you just need to lift the air valve cap and pour the product into the valve.
To spread the product evenly inside the chamber, you have to move the float tube in various directions. Ensure enough time to dry the product completely. Now, your task is to fill the float tube with air. Finally, make sure that your problem is completely solved by your verification.
Repair with Aquaseal
Some Fishing float tube brands include some of this stuff in the repair kit while you buy any belly boat. If you have it, you’re lucky.
As the brands trust Aquaseal, you can do so. It is very effective for small pinholes because you needn’t use patches. You should exert pressure on the hole. It ensures forming a strong bond.
Want more protection? Then you need to put a patch on the Aquaseal.
You might need to wait a day for the best result, but it will save a lot of your valuable time because it will relieve you to repair your kick boat again and again.
Final Words
I Hope, you have leaned the entire process of how to patch a float tube.
However, I will suggest you carry a repair kit always that helps you to patch your float tube within a short time.
I would like to remind you that many repair tapes will make you glad for a shorter period with the quick result, but for sure you will be frustrated ultimately. They won’t be hardy enough like a special patching liquid. So, it would be great to choose Aquaseal.
In the last portion of this article, I want to advise you to choose the right repair kit first, then begin repairs in the proper way. No doubt, you will get benefits for a long time.
[amazon bestseller=”float tube patch repair kit” items=”5″ template=”table”]

