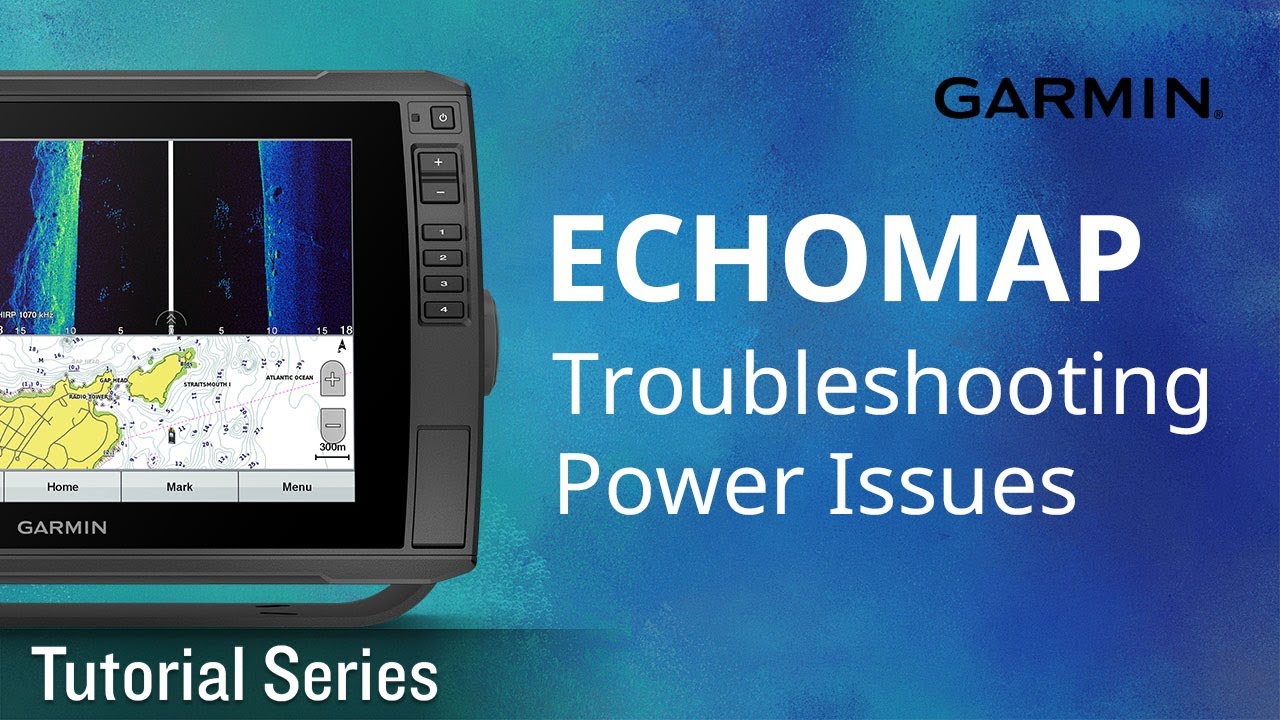
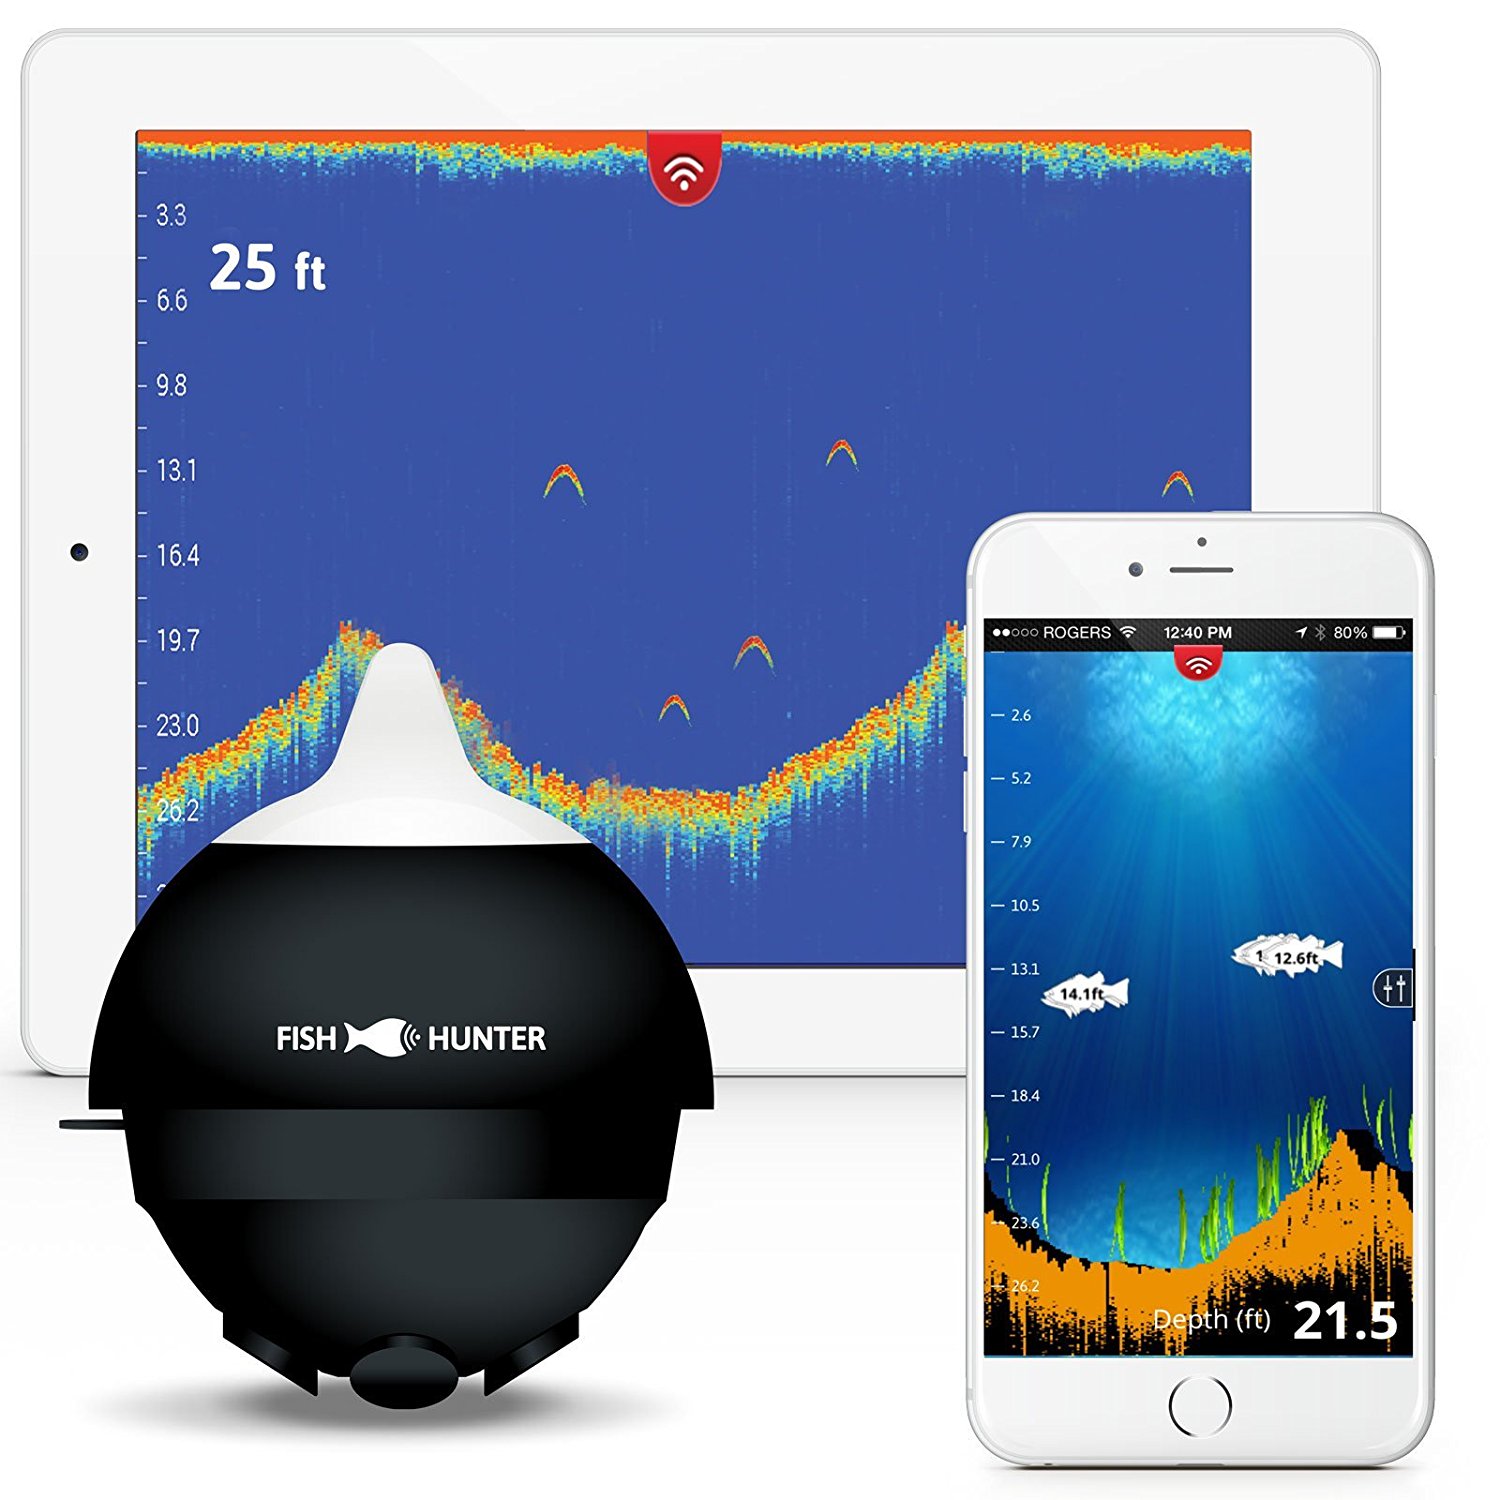
The battery setup for a kayak fish finder is crucial for its operation and can be easily done with some basic steps. A well-charged marine battery, battery box, and connecting cables are the key components required for the setup.
When setting up a battery for your kayak fish finder, make sure to choose a marine battery that is compatible with your fish finder’s power requirements. The battery box helps protect the battery from water and also keeps it secured in place.
Connect the positive and negative terminals of the battery to the corresponding terminals on the fish finder using the connecting cables. Finally, place the battery and the fish finder in their designated spots on the kayak, ensuring they are securely mounted.
Choosing The Right Battery For Your Kayak Fish Finder
Choosing the right battery for your kayak fish finder requires careful consideration of several factors. Firstly, you need to compare different battery types and assess their pros and cons. Different batteries, such as lead-acid, lithium-ion, and AGM, offer various advantages and disadvantages.
Consider factors such as the battery’s capacity, weight, and size, as well as its ability to hold a charge and withstand harsh conditions. Additionally, pay attention to the required maintenance and the lifespan of the battery. This decision plays a crucial role in ensuring the reliable functioning of your fish finder while out on the water.
Make an informed choice based on your specific needs and preferences to optimize the performance of your kayak fish finder battery setup.

Credit: www.amazon.com
Tips For Setting Up Your Kayak Fish Finder Battery
Setting up your kayak fish finder battery includes positioning it for optimal weight distribution. This will ensure stability while you’re out on the water. Additionally, securing the battery tightly will prevent any movement or potential damage.
Wiring Your Kayak Fish Finder Battery For Optimal Power Performance
Wiring your kayak fish finder battery for optimal power performance is crucial for a successful fishing trip. Understanding the basic wiring components is the first step towards setting up your battery. To ensure maximum power, follow this step-by-step guide to wiring your battery setup.
Start by connecting the positive terminal of your battery to the positive terminal of the fish finder. Next, connect the negative terminal of your battery to the negative terminal of the fish finder. Make sure the wiring is secure and free from any loose connections.
It’s important to use the appropriate gauge wiring to handle the power requirements of the fish finder. Finally, use zip ties or other securing methods to keep the wiring organized and protected from any potential damage. With a properly wired battery setup, you can enjoy uninterrupted power for your kayak fish finder during your fishing adventures.
Maintaining And Prolonging The Life Of Your Kayak Fish Finder Battery
Maintaining and prolonging the life of your kayak fish finder battery is essential. Proper charging techniques play a crucial role in maximizing battery life. Cleaning and storing your battery properly during the off-seasons is equally important. By following these guidelines, you can ensure that your battery remains in optimal condition.
Additionally, regularly inspecting the battery for any signs of damage or wear and tear will help identify any potential issues. When charging the battery, avoid overcharging or undercharging it, as this can negatively impact its performance. Moreover, using a compatible charger specifically designed for your kayak fish finder battery is recommended.
Remember to read the manufacturer’s instructions for the optimal charging process. By following these simple steps, you can prolong the life of your kayak fish finder battery and enhance your fishing experience.
Frequently Asked Questions For Kayak Fish Finder Battery Setup
What Is A Kayak Fish Finder Battery Setup?
A kayak fish finder battery setup refers to the configuration and components needed to power a fish finder device on a kayak. It typically includes a marine battery, battery box, wiring, and connectors to ensure reliable and long-lasting operation.
How Long Does A Kayak Fish Finder Battery Last?
The battery life of a kayak fish finder depends on various factors, such as the battery capacity, usage frequency, and power settings. Generally, a fully charged battery can last between 8 to 20 hours of continuous use. However, it is recommended to carry a spare battery for longer fishing trips.
How Do I Install A Kayak Fish Finder Battery Setup?
To install a kayak fish finder battery setup, start by selecting a suitable location for the battery and battery box. Ensure it remains secure and waterproof. Connect the fish finder to the battery using the provided wiring and connectors. Test the setup before heading out on the water to ensure proper functionality.
What Type Of Battery Is Best For A Kayak Fish Finder?
The best battery for a kayak fish finder is usually a deep-cycle marine battery. These batteries are designed to provide sustained power over extended periods and can handle frequent charging and discharging cycles. Opt for a battery with adequate capacity, considering the size and power requirements of your fish finder.
Conclusion
To sum up, setting up a battery for your kayak fish finder is an essential aspect of ensuring a smooth fishing experience. By carefully selecting the right battery type and size, you can guarantee sufficient power to keep your fish finder running throughout your trip.
Remember to check the battery’s voltage and capacity, considering the specific power requirements of your fish finder model. Connect the battery securely and protect it from water exposure using a waterproof battery case or bag. Performing regular maintenance, such as keeping the battery charged and storing it properly, will help prolong its lifespan and reliability.
Overall, investing time and effort into a proper battery setup for your kayak fish finder will enhance your fishing adventures and enable you to make the most of your time on the water. Happy fishing!


